

Why immersion heaters fail and what the warning signs can tell you
You know the feeling. A heater that used to hit temperature in no time starts dragging, or it trips for no obvious reason, or you pull it and find the element looking rough. The upside, such as it is, is that immersion heaters rarely quit without any warning at all. They tend to warn you first.
A drop in performance, a crust of deposits, a patch of corrosion, an electrical trip, a discoloured element, any of these can be the heater quietly telling you what’s wrong underneath. This is a practical guide to reading those signs early and working out what they’re actually pointing at, because catching them in time is often the difference between a quick fix and a scrapped element.
Why do immersion heaters fail before their expected service life?
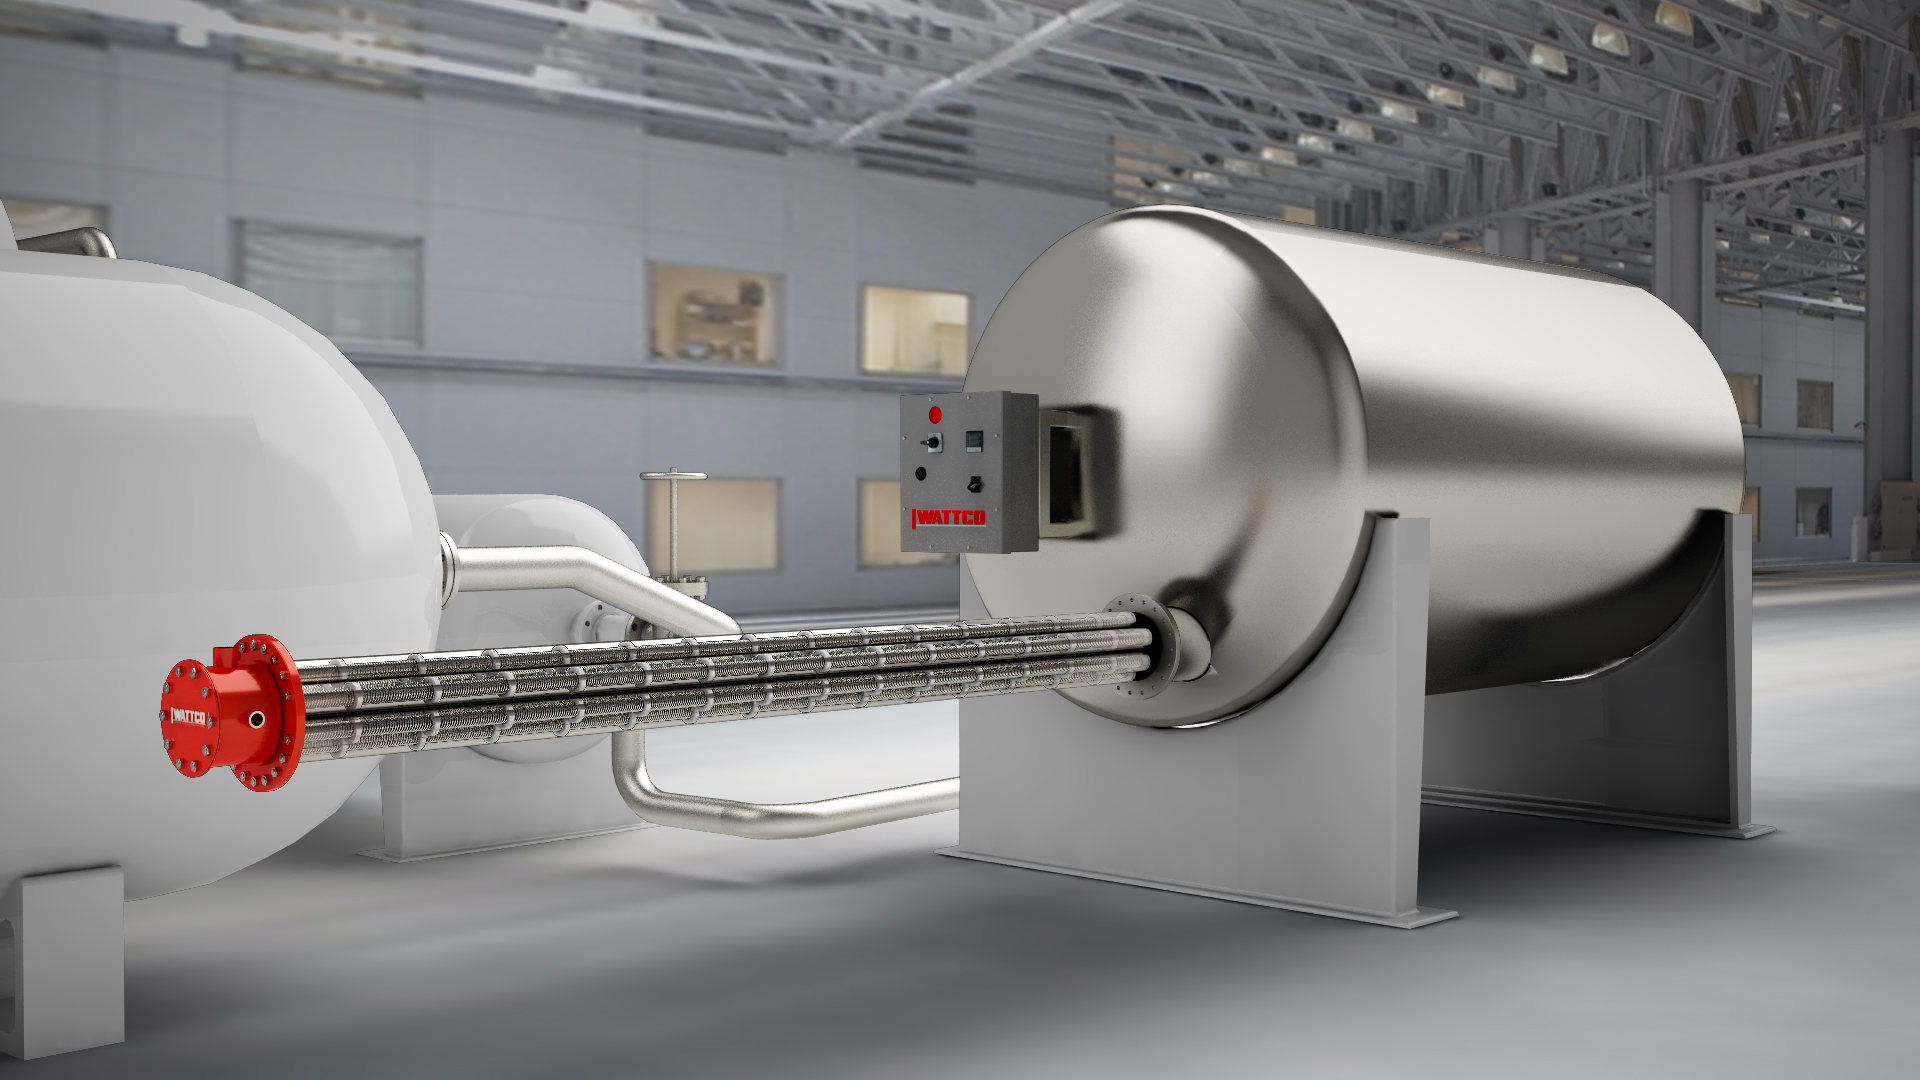
An immersion heater’s life rides on a lot more than the element inside it. The process fluid, the watt density, the liquid level, the operating temperature, how well the material suits the job, scale buildup, the controls, the way it was installed, all of them feed into how long it lasts. That’s why chasing the cause matters so much.
The service life of industrial immersion heaters depends on far more than the heating element itself. Process fluid, watt density, liquid level, operating temperature, sheath material, scale buildup, controls, and installation conditions all influence how long the heater lasts.
Swap in a fresh element without dealing with whatever killed the last one and you’re really just buying yourself the same failure a few months down the road. The element is often the victim, not the culprit.
Slow heating is often the first sign something is wrong
When a heater starts taking longer to get there, or struggles to hold its setpoint, it’s usually telling you that heat isn’t moving from the element into the process the way it used to. The element may still be pulling its power, but something is getting in the way of that heat actually reaching the fluid, and that something tends to get worse, not better, if it’s left alone.
Scale and deposits can trap heat at the element surface
Mineral scale, sludge, and the rest settle into a kind of insulating skin around the sheath, and that skin is exactly what wrecks heat transfer. The element still throws off its heat, but rather than passing into the fluid it stalls at the surface, so the sheath climbs in temperature while the process warms slower than you’d want.
Left to keep building, that trapped heat quietly cooks the element from the outside in and shortens its life considerably. Scale is especially damaging to tubular heaters because the deposit acts as insulation between the sheath and the liquid, reducing heat transfer while driving the element’s surface temperature higher.
Coking can become a problem when heating oils
With oils and other heat-sensitive fluids there’s a related trap. Let the element surface run too hot and those fluids start to break down and lay down carbon on the heater, which is what people mean by coking. You’ll often see it together with high watt density, poor circulation, and a heater that’s already past its best, and once that coke layer forms it blankets the element much as scale would, driving the surface hotter and letting the whole thing snowball.
Burned or discoloured elements can point to overheating
Take an element out and notice a bit of darkening, a blister, some warping, or a scorched patch in one place, and the instinct is to call it ordinary wear and move on. Resist that. Marks like these usually mean part of the element has been running far hotter than it should, and that heat had to come from somewhere. Reading where and how it’s discoloured often points you straight at the underlying cause.
Dry firing and low liquid levels
An immersion heater is built to dump its heat into liquid, and it relies on that liquid to carry the heat away. Let part of the element poke up into air and it overheats astonishingly fast, because nothing’s pulling the heat off it. With screw plug heaters, correct mounting depth and liquid-level control are particularly important because the heating elements need to remain properly submerged during operation.
Low fluid levels, a heater sitting too high in the vessel, someone draining a tank while the heater’s still energised, or a level control that’s quietly failed, any of these can leave an element dry firing, and the damage is often severe and quick.
Poor fluid movement around the heater
Even with the element fully under, it can still overheat when the fluid nearby just sits still. Stagnant pockets or thin circulation let heat collect in one spot instead of moving away, and a heater that looked correctly sized on the calculation ends up struggling all the same. Worth remembering that heater placement and the way the process moves around it can count for as much as the kW on the nameplate.
Fluid movement becomes even more important with industrial circulation heaters, where flow rate and watt density have to work together so heat is carried away from the element efficiently rather than becoming concentrated at the heater surface.
Corrosion can reveal a material compatibility problem
Pitting, cracking, rust, or a sheath that’s visibly thinning is often the process telling you the material was never quite right for it. Corrosion like that isn’t random wear, it’s a compatibility issue between the heater’s material and the fluid or conditions it’s living in, and it’s worth taking as a signal rather than just fitting the same sheath again.
Look beyond the process fluid alone
The fluid on its own doesn’t tell the whole tale. How concentrated it is, the temperature, whatever contaminants ride along, the cleaning chemicals cycling through, and the way the process chemistry drifts over time all shift how harsh the environment really gets. A sheath that stood up fine to the original setup can begin corroding once those conditions change, so a material that worked before offers no promise it’ll keep working after the process moves on.
Repeated electrical trips should not be ignored
A breaker that won’t stay in, a ground fault, a fuse that keeps letting go, the temptation is to shrug and reset. Don’t. These usually flag something real inside the heater rather than a one-off electrical blip, so chasing down the reason beats resetting and hoping for the best.
Moisture and insulation breakdown
Moisture is a classic offender. Let it work its way into the terminal area, or let the internal electrical insulation deteriorate with age and heat, and the insulation resistance drops, which opens the door to ground faults and generally flaky operation. It’s one of the more common reasons a heater starts throwing trips, and it rarely fixes itself.
Loose or overheated electrical connections
Trouble can also live at the connections. A loose terminal, chafed wiring, or a poor connection throws off heat exactly where you don’t want it, turning up as discolouration, arcing, or a terminal that eventually gives out. These are worth catching early, because a hot connection tends to get worse over time and can take the terminal end of the heater with it.
Uneven temperature can point to a heater or control problem
When one part of the process sits hotter or colder than you’d expect, the heater is worth a look, but so is everything around it. Failed elements, a heater positioned poorly, circulation that isn’t doing its job, or a temperature reading that simply isn’t accurate can all leave you with uneven results, and they don’t all get fixed the same way.
Check the sensor before blaming the heater
Before you condemn the heater, look hard at the sensor. Thermocouples, RTDs, and thermostats only help if they’re healthy and sitting somewhere that actually represents the process. A sensor that’s failed, or parked in a dead spot or too close to the element, feeds the control system a temperature that isn’t the real one, and the controls then react to a number that was misleading from the start. Plenty of “heater” problems turn out to be sensor problems.
Frequent cycling or overshooting can signal a control issue
A heater forever snapping on and off, running past its setpoint, or refusing to settle may have a perfectly good element. The controls are often where the fault lives. Properly configured industrial temperature control panels, working with thermocouples or RTDs, help regulate heater output and provide protection against overheating that could otherwise shorten element life. A controller dialled in wrong, a sensor placed badly, a heater bigger than the job needs, or a failed contactor can all produce that twitchy, overshooting pattern, so it’s worth clearing those before condemning the element.
Leaks around the heater need immediate attention
Any leak around a flange, a screw plug, a gasket, or a mounting connection deserves a fast response, not a note for later. Thermal cycling works fittings loose over time, gaskets deteriorate, an installation that wasn’t quite right lets go, corrosion eats at seals, and mechanical stress adds up, any of which can start a leak. On flanged heaters, leaks around the flange or gasket need immediate attention.
Thermal cycling, gasket deterioration, corrosion, incorrect installation, or mechanical stress can eventually compromise the seal. Beyond the mess, the real worry is process fluid finding its way to the electrical components, which turns a small leak into a genuine hazard in a hurry.
What the location of the damage can tell you?
Where a heater fails is often as telling as the fact that it failed, so it’s worth resisting the urge to bin a dead unit straight away. Give it a proper look first, because the pattern of damage frequently points at the cause.
Damage near the liquid line
Damage clustered right around the fluid surface usually hints at a level that’s been moving up and down, an element that’s been partly exposed, or repeated cycles of heating and cooling right at that line. The liquid line is a stress point, and marks concentrated there tell their own story.
Damage concentrated in one area
When the damage sits in one patch rather than spread evenly along the element, think local. A build-up of scale in one spot, restricted circulation there, or a process deposit can create a hot spot that fails while the rest of the element still looks fine. Uniform wear and a single scorched zone mean very different things.
Damage near terminals or connections
Trouble concentrated at the electrical end tends to point away from the process fluid and toward things like moisture getting in, too much ambient heat around the terminal housing, loose wiring, or an installation issue. If the wet end looks healthy but the terminal end is a mess, the fluid probably isn’t your problem.
When process changes become the hidden cause of heater failure?
Here’s one that catches people out. A heater runs happily for years, then starts failing not long after some seemingly minor tweak to the process. A hotter operating temperature, a push for quicker heat-up, a different concentration, thicker fluid, lower levels, an altered flow rate, any one of them can nudge the heater beyond what it was ever built for. So the takeaway’s an easy one. Whenever conditions move, pull the original spec back out and ask if it still fits, because the heater that suited the old process can quite easily be wrong for the new.
Warning signs maintenance teams should watch for
A quick inspection checklist worth keeping handy:
- Heat-up time becoming noticeably longer
- Difficulty reaching or maintaining setpoint
- Frequent breaker or ground-fault trips
- Heavy scale or carbon deposits
- Discolouration or warping of the element
- Pitting, cracking, or corrosion on the sheath
- Leaks around heater connections
- Unusual terminal heating or burnt wiring
- Repeated temperature overshoot
- Uneven process temperatures
- Frequent element replacement
Do not replace the heater until you understand why it failed
It’s worth treating a premature failure as information about your process rather than just a part to swap. Fit the same design again and, if the real cause was dry firing, fouling, the wrong watt density, corrosion, poor circulation, or a control fault, you’ll very likely be back here watching it fail the same way. So before you order a replacement, document the damage and the operating conditions, because that record is exactly what lets you or a manufacturer like Wattco choose a heater that actually solves the problem instead of repeating it.
Final thoughts on immersion heater warning signs
Immersion heaters are usually generous with clues before they give out entirely. Slower heating, deposits, corrosion, trips, a temperature that won’t hold, visible damage on the element, all of them help you zero in on what’s actually happening. Spot them early and you can shave unplanned downtime, coax more life from the heater, and stop the same failure from coming round again. The heater tends to signal trouble long before it packs up, so a little attention goes a long way.
FAQs about immersion heater warning signs
What is the most common cause of immersion heater failure?
There’s no single culprit, though dry firing and fouling sit near the top. Run an element with part of it out in the air, or let scale and coke build into an insulating layer, and either way the sheath temperature climbs until the element gives up. Watt density set too high, corrosion, and control faults land plenty of heaters too, which is why pinning down the real cause beats simply fitting a new part.
What happens when an immersion heater runs without enough liquid?
It overheats fast, and often fatally. The element is designed to pass its heat into liquid that carries it away, so if part of it sits in air there’s nothing pulling that heat off, and the exposed section can scorch, blister, or burn out in short order. Low levels, a failed level control, or draining a vessel with the heater still energised are the usual ways this happens.
Can scale buildup cause an immersion heater to burn out?
Absolutely. Scale forms an insulating layer around the sheath, so heat that should be flowing into the fluid gets trapped at the surface instead. That pushes the element’s temperature up even though the process seems to heat more slowly, and over time the trapped heat cooks the element until it fails. That makes it one of the sneakier ways an element dies, hard water especially.
Why does an immersion heater keep tripping the breaker?
Persistent trips usually point to something genuine rather than a fussy breaker. Moisture reaching the terminal area, or the internal insulation degrading, can drag the insulation resistance low enough for ground faults, and loose or overheated connections trip things as well. Far better to run down the cause than keep resetting, since whatever sits behind it only worsens while it’s left alone.
How can you tell if an immersion heater is failing?
The tells add up. Heat-up times creep longer, it struggles to hold setpoint, breakers trip, you find heavy scale or carbon, or the element looks discoloured, blistered, or corroded when you inspect it. Leaks around the connections and uneven process temperatures are warning signs as well. Catch a few of these early and you can usually act before it fails completely.
How can premature immersion heater failure be prevented?
Mostly by matching the heater to the real conditions and then watching for drift. That means a sensible watt density for the fluid, a material that suits the chemistry, good circulation, reliable level protection to prevent dry firing, and controls that actually hold a stable temperature. Keeping scale in check and reviewing the original spec whenever the process changes goes a long way too.